
How to Make Venison Pastrami
The curing of meat is an ancient craft, borne of necessity. In it’s earliest incarnation, curing was more of a survival skill than a culinary technique, allowing early humans to preserve and consume meat far beyond the point of natural spoilage.
The Greek philosopher, geographer and historian Strabo provided one of the first documentations of the craft when he noted the peculiar practice of inhabitants of the ancient Sumerian city of Borsippa—located in modern day Iraq—who were known for capturing bats before killing and salting them for future consumption.
The history of pastrami is no less interesting. Sometime during the 13th century near the town of Pastirma in eastern Turkey, Pastrami making was pioneered by horsemen of the Ottoman Empire. During long rides, these ancient equestrians took to storing tough cuts of goat and sheep in the underside of their saddles. After a long hard day in said saddle, the meat would emerge more tender for the ware and subtly seasoned by the salt content of horse sweat. Luckily, the practice was refined over the years, and horse sweat is no longer a required implement in the pastrami making process.

Pastrami first found its way American shores via a wave of Jewish Romanian immigrants arriving sometime in the late 1870s. They brought with them a knack for making incredible pastrami from the breasts of geese and marginal cuts of beef such as the naval. The process quickly caught on on, and today, pastrami remains a staple in Jewish delicatessens across the United States.
These days, commercially available pastrami is usually made from beef brisket, which is an exceptional cut for the style, but the process lends itself well to wild game cuts such as Canadian goose breast or the rump or sirloin of a venison hindquarter. While it’s certainly time consuming, the process is not overly difficult and can easily be achieved by a competent home cook.
Over the past couple years, I’ve taken to saving at least one large roast from my venison hindquarters for the explicit purpose of pastrami making. This year it was a five pound roast taken from a Kentucky-harvested whitetail.
How To Make Pastrami, Step by Step
Step 1.
Brine.
Once you’ve decided on your cut of meat, whether that be a venison roast like I used, a goose breast or even the traditional beef brisket, the first step requires the full submersion of the meat in a flavorful liquid brine.

The specific amount of ingredients you use in your brine will vary with the weight of your cut, but the list should always include some ratio of kosher salt, sugar and Instacure #1, AKA pink salt or Prague Powder. I use Amazon to source this stuff. If you plan on curing meat regularly, it’s something you should keep in the kitchen at all times.
For a five pound roast I used the following brine which I borrowed from Micheal Rhulman’s excellent book on Charcuterie:
1 gallon water
1.5 cups kosher salt
1 cup sugar
6 teaspoons Instacure #1
1 tablespoon pickling spice
1/2 packed cup dark brown sugar
1/4 cup honey
5 cloves garlic
Combine all of this in a stock pot big enough to contain the meat and bring it to a simmer on the stove top. Once all the salt and sugar is dissolved, remove the brine from the heat, allow it to cool to ambient temp, then chill it in the fridge.

Once the brine is chilled, put your game meat into the stock pot—using a plate if your have to to ensure that it remains completely submerged—and refrigerate for at least three days. Some recipes call for up to five days in the brine.
** Remember, this brine recipe corresponds to 5 lbs of meat. If your cut is larger or smaller than that, you’ll need to adjust accordingly.
Step 2.
Dry rub.
This part is simple. Just grind an even 50-50 mix of black pepper and coriander in a spice mill or a coffee grinder, then liberally apply the mixture to the outside of your brined meat. This will form a delicious, smoky crust when once your pastrami is complete.

Step 3.
Smoke.
The final step in the pastrami making process requires access to some type of smoking apparatus. I used a Traeger grill, which worked wonderfully for this, but you could use an electric smoker or even a charcoal kettle grill set up with an indirect heating system and some soaked wood chips in a foil tray. More on that method here.
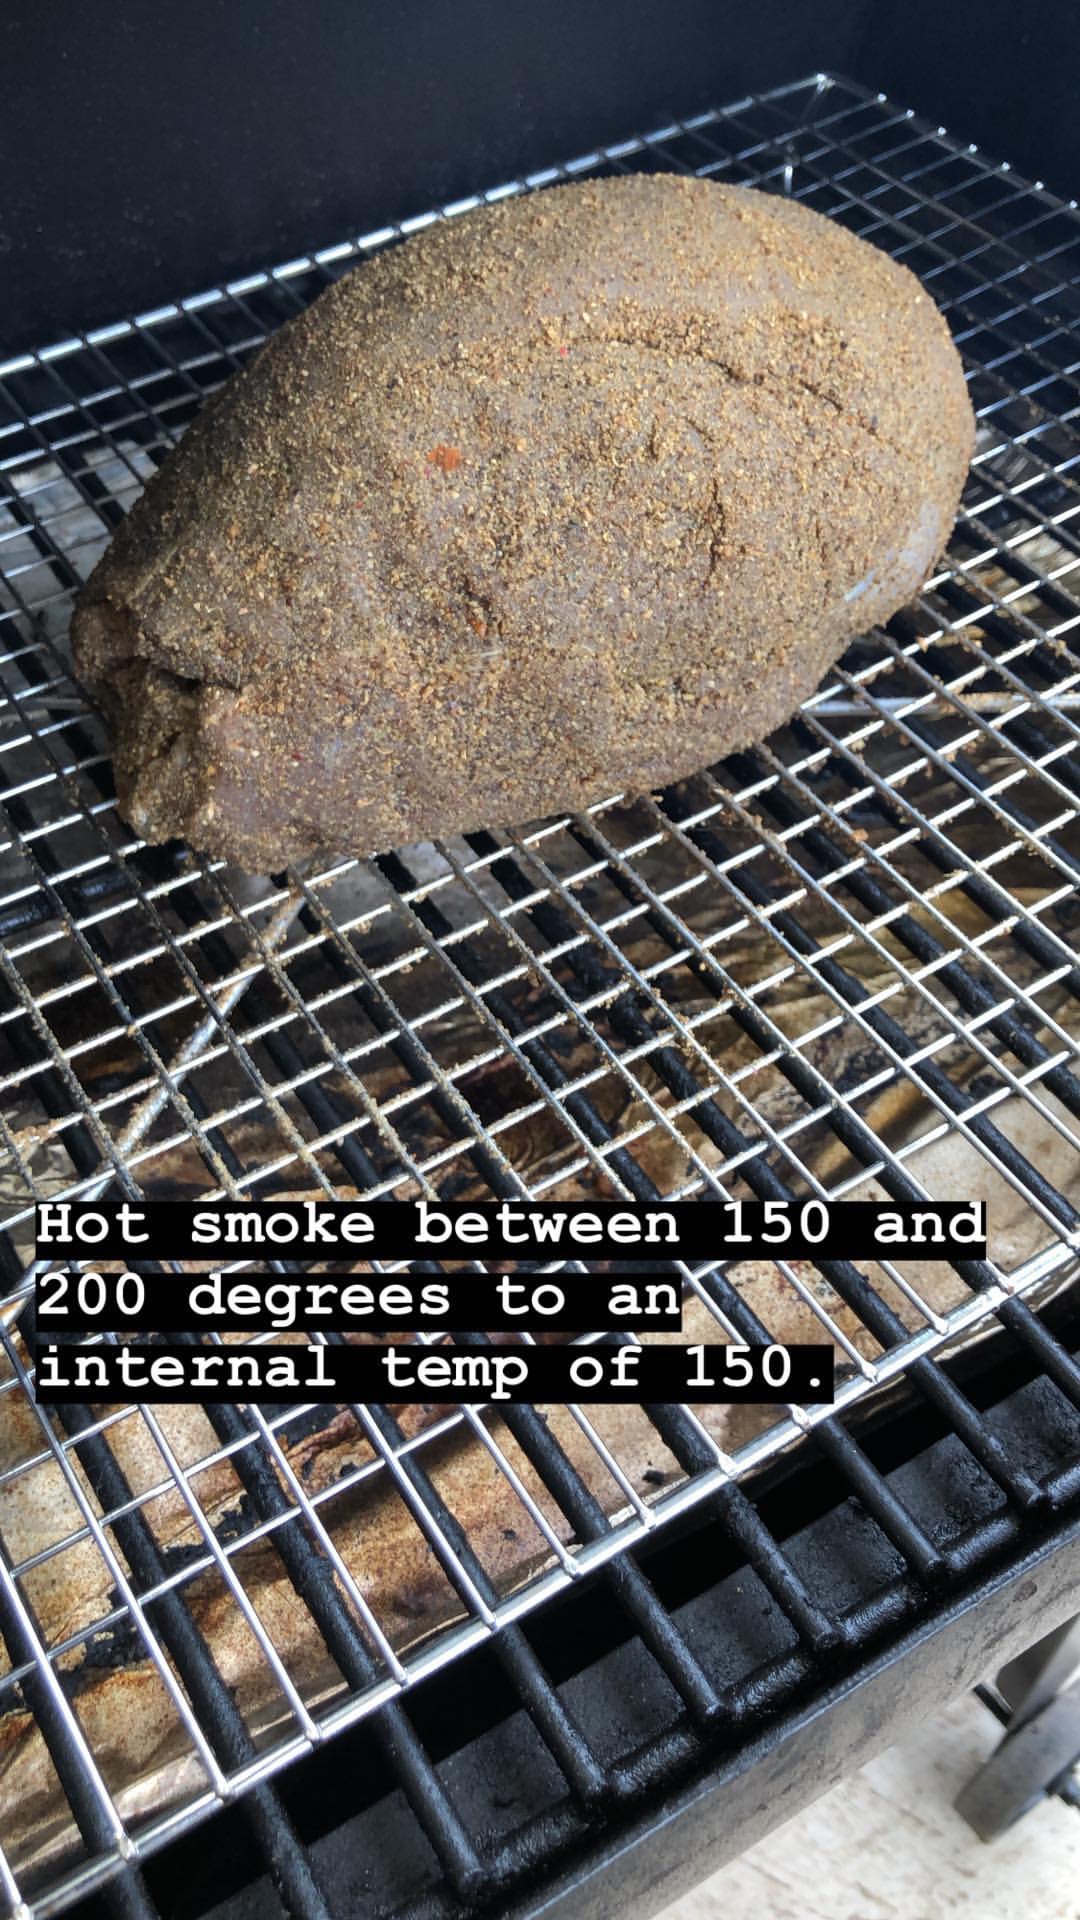
On the Traeger, I used the smoke setting. This usually comes in around 180-200 degrees F, which is the perfect hot smoke that proper pastrami requires. Regardless of how you choose to smoke the pastrami, you will want to closely monitor its internal temperature. Once the meat reaches 150 degrees internal, pull it off, place it on a drying rack, and let it cool for at least 30 minutes before slicing.

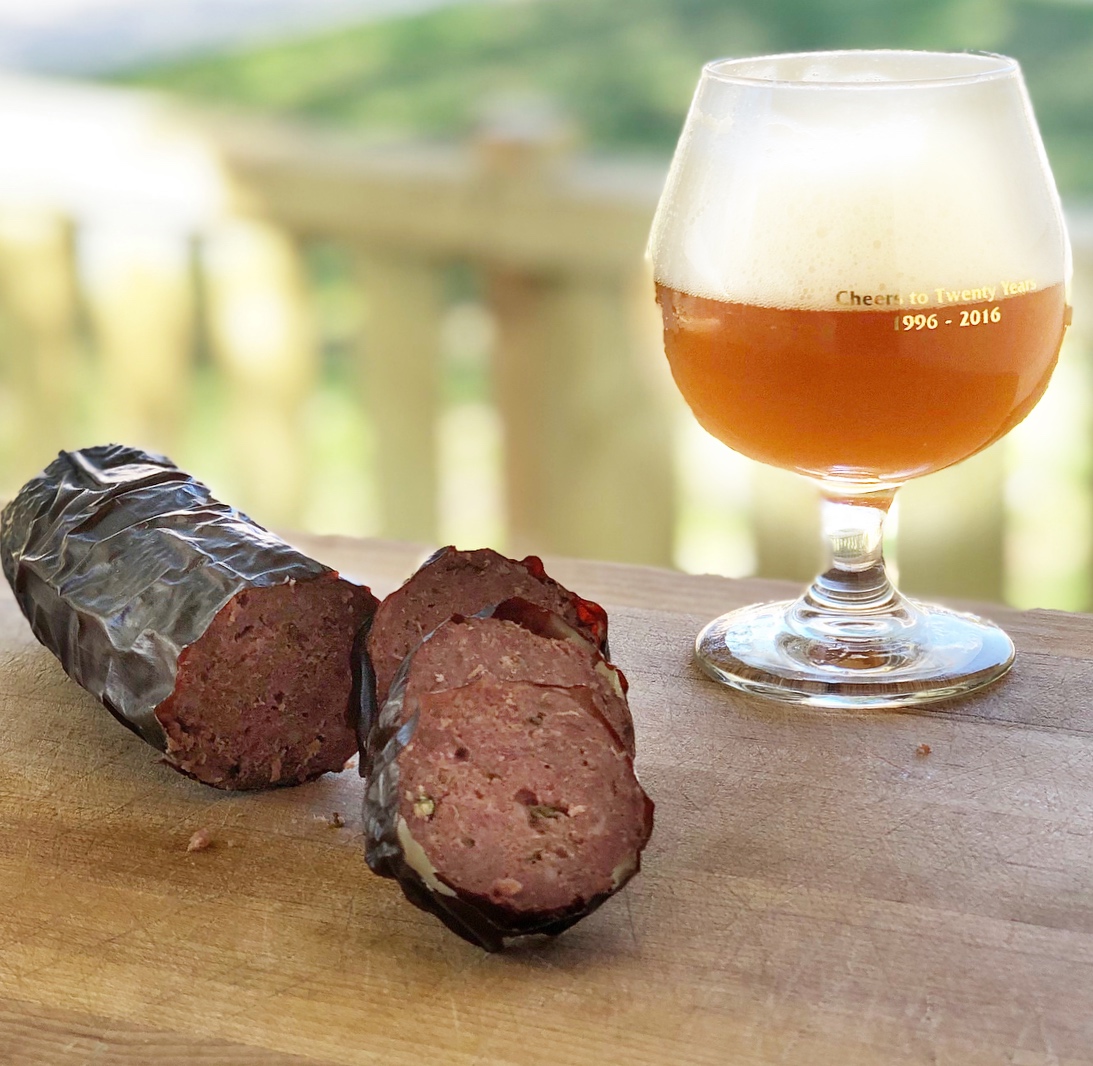
That’s really all there is to it. Like I said earlier, it’s a straight forward process. It just requires time (the most important ingredient in all charcuterie) and a little bit of diligence.
Author’s note: When serving your pastrami, considering piling it high on a toasted pretzel bun with sliced kosher dills, smoked gouda cheese, caramelized onions and a creamy horseradish sauce. This deviates from the traditional pastrami on rye with spicy brown mustard popular in East Coast delicatessens, but it works.